Documentation Makes Easy With MkDocs and GitLab Pages

Table of Contents
Overview #
I created a static website using MkDocs and deployed to GitLab Pages. This is what I did: https://bemn-proof-of-concept.gitlab.io/mkdoc/.
Table of Contents #
MkDocs #
From MkDocs’ official website:
MkDocs is a fast, simple and downright gorgeous static site generator that’s geared towards building project documentation. Documentation source files are written in Markdown, and configured with a single YAML configuration file.
In my opinion, setting up a static site using MkDocs is really straightforward. It’s easy to change the theme and insert custom styles/scripts. Keep it simple, stupid. That’s what I need.
Preparation #
Make sure that you have the following tools:
- python 3.x and pip. Install it via executable from the official website, or using tools like Homebrew.
$ python --version
Python 3.8.2
$ pip --version
pip 20.0.2 from /usr/local/lib/python3.8/site-packages/pip (python 3.8)
- a GitLab account. You can use other service like Github Pages, Amazon S3, etc.
- (optional) a markdown cheatsheet.
(For me, the most difficult part is how to get the python and pip versions right. In Mac the built-in python version is 2.7 but we need python 3 to install pip.)
Up and Run #
$ pip install mkdocs
$ mkdocs --version
mkdocs, version 1.1.2
Assuming that your project folder is doc-project:
$ mkdocs new doc-project
$ cd doc-project
A MkDocs project is then created with the following folder structure:
doc-project
├── docs
│   └── index.md
├── img
│   └── favicon.ico
└── mkdocs.yml
Let’s run the site:
$ mkdocs serve
INFO    -  Building documentation...
INFO    -  Cleaning site directory
INFO    -  Documentation built in 1.65 seconds
[I 200612 23:30:19 server:334] Serving on http://127.0.0.1:8000
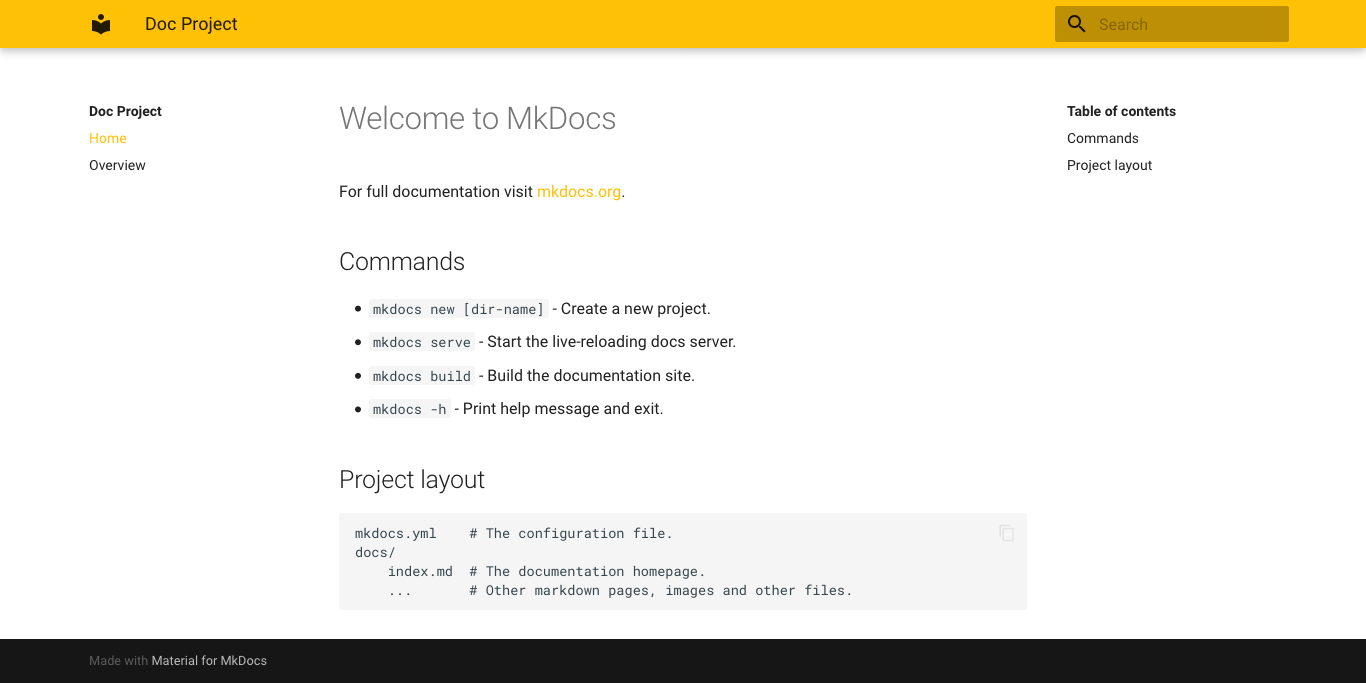
And check it out at http://127.0.0.1:8000!

Add a new page #
The content #
Remember, all the documents should place under docs. Let’s create an Overview page:
$ cd docs
$ touch overview.md
After that, add some content to overview.md.
The menu #
If you want the visitors to reach the overview page, you need to add an url in the menu. Let’s edit mkdocs.yml, the site config file:
# In mkdocs.yml...
site_name: Doc Project ## change your site name here.
nav:
  - Home: index.md
  - Overview: overview.md ## add this line.
You will see a new link called Overview in the menu. If you want to set your site name now, change the value of site_name.
So that’s it. That’s how to add a new page.
Theming #
You can apply a custom theme to MkDocs. This page contains many themes contributed by the community.
In this section, I will apply the Material Design theme to my MkDocs site.
Stop running your site and install the theme by:
$ pip install mkdocs-material
Update the mkdocs.yml again:
# In mkdocs.yml...
site_name: Doc Project

nav:
  - Home: index.md
  - Overview: overview.md

## Add this section
theme:
  name: material
  palette: ## Add this sub-section if you want to change the theme color
    scheme: amber
    primary: amber
    accent: orange
Start the site:
$ mkdocs serve
You will see MkDocs is dressing the amber Material Design theme.
Custom Resources #
Sometimes you may want to add custom CSS or JS. In MkDocs, you can do it by adding extra_css and extra_javascript sections in mkdocs.yml.
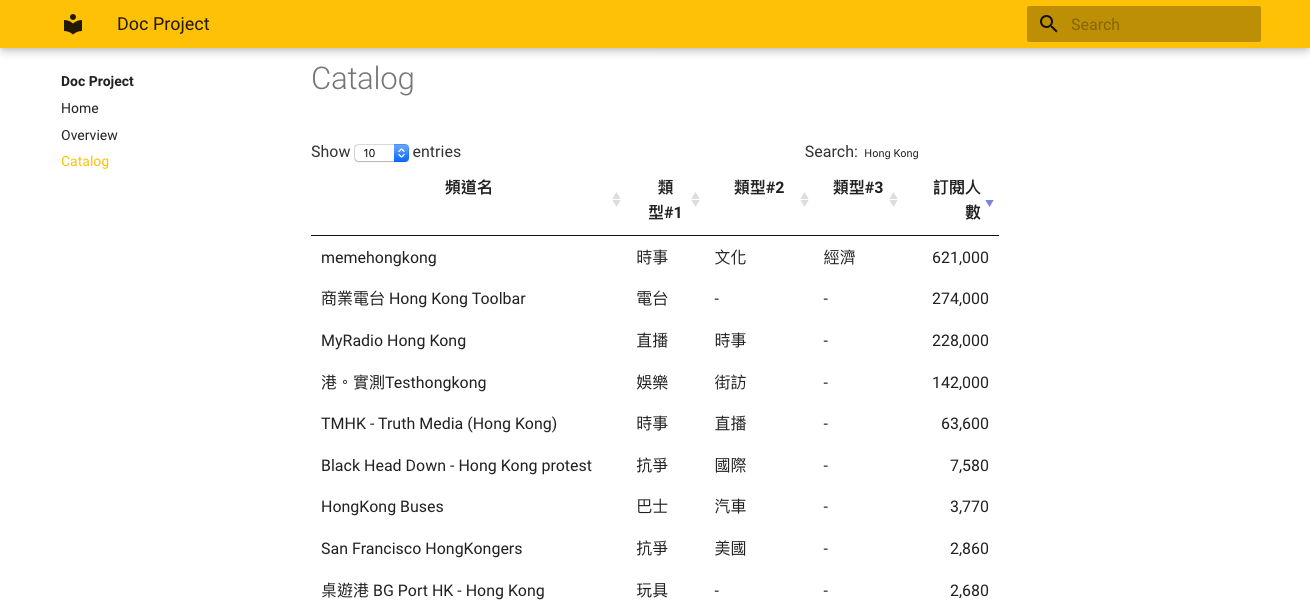
I created a catalog page which contains a table written in markdown. Also, I want to apply jQuery DataTables to make the table more interactive. Therefore, I added the related js libraries and related css file to MkDocs. You can see the result here.
Exercice: create a catalog.md file and add a markdown table in it.
Next, add the custom resource sections to the config file:
# In mkdocs.yml...
site_name: Doc Project
nav:
  - Home: index.md
  - Catalog: catalog.md ## The catalog page you created in the exercise.

theme:
  name: material
  palette:
    scheme: amber
    primary: amber
    accent: orange

## Custom js files.
extra_javascript:
  - https://code.jquery.com/jquery-3.5.1.min.js
  - https://cdn.datatables.net/1.10.21/js/jquery.dataTables.min.js
  - scripts/site.js

## Custom css files.
extra_css:
  - https://cdn.datatables.net/1.10.21/css/jquery.dataTables.min.css
Create a custom js file:
$ cd docs
$ mkdir scripts
$ cd scripts
$ touch site.js
Now in your site.js file:
$(document).ready( function () {
    $('table').DataTable();
});
Afer that, you should be able to see an interactive table in the catalog page.
GitLab Pages #
Create a GitLab repository under your personal space or a project group. The url will be something like https://gitlab.com/{username or project group name}/{repo name}.
Clone the repo you created and create the following items:
$ mkdir src
$ touch .gitlab-ci.yml
Place your MkDoc items (i.e. the doc-project folder) under src. See the following folder structure:
(root of the repo)
├── .gitlab-ci.yml
└── src
    └── doc-project
.gitlab-ci.yml #
The .gitlab-ci.yml is a GitLab-specific file. GitLab will read and run the steps in the file. We need to tell GitLab how to generate and deploy our static MkDocs website. In this file:
# In .gitlab-ci.yml...
image: python:3.8-buster ## MkDocs requies python.

pages:
  stage: deploy ## tell GitLab to deploy the website in this step.
  before_script:
    - pip install mkdocs ## install MkDocs.
    - pip install mkdocs-material ## install the theme.
  script:
    - cd ./src/doc-project
    - mkdocs build ## built the site.
    - mv site ../../public
  artifacts:
    paths:
    - public
  ## Uncomment the following section if you want to run this step under master branch only.
  # only:
  # - master
So basically it tells GitLab to install the tools required under python 3.8 environment and deploy the website after the site is generated.
Try to run the following command if you want to generate the site locally:
$ mkdocs build
The generated site is located under doc-project/site/ .
In order to display the website properly, you need to place the generated site under the public folder and let GitLab knows the artifact inside is the website you want to deploy.
Build and Deploy #
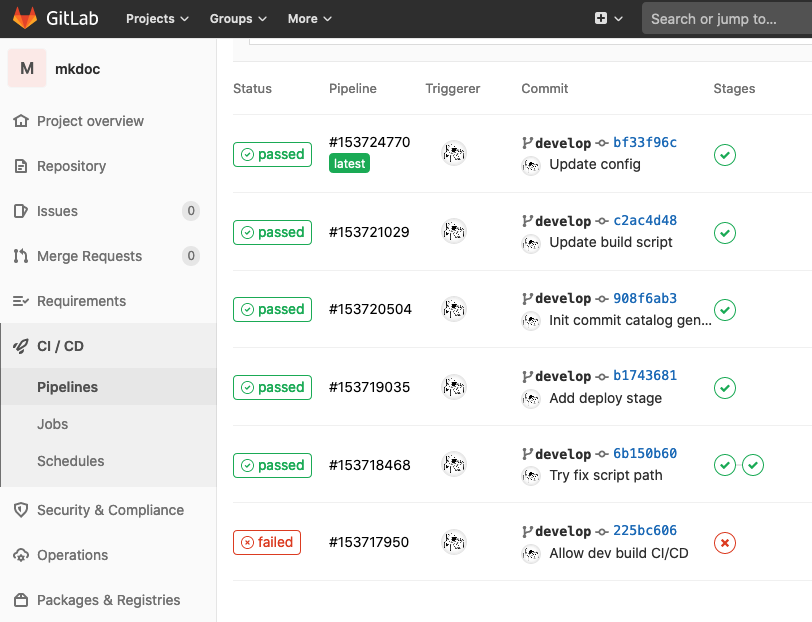
Push the code to GitLab and the site should build automatically. Check out the status of the build under CI/CD –> Pipelines.
Check out your website now. The url is https://{username or project group name}.gitlab.io/{repo name}/.
Conclusion #
In this tutorial, we created a static site with custom theme, styles and js library by using MkDocs. After that, we set up a CI/CD pipeline on GitLab for building and deploying this static site to GitLab Pages.